Vendor information stored in ALICE allows properties to maintain a preferred vendor list on the platform
🔐 User Type & Roles
To perform this action in ALICE, the user must have at least Employee User Type access.
The user must also have the following settings within “Roles” enabled”
Access to “Local” tab.

Access to “Add”, “View”, and “Edit” Vendors/Contacts. Additionally, select “Hotel Notes” to enable the user to add to the Hotel Notes field. (Learn more about Hotel Notes in Vendor Fields)

 Things to Consider
While it is possible to grant permission to delete vendor records via Roles, this is not recommended as deleting vendors is a permanent action that cannot be reversed.
Vendors cannot be added to ALICE in bulk.
Vendors must be added prior to being accessible in vendor dropdown fields throughout the ALICE platform.
ALICE uses data from Google Places to populate vendor data including address, hours, contact information, and website.
Learn more about available Vendor Fields.
The “Active” checkbox does not impact the visibility of the vendor in dropdown fields or searches.
Jump to “Add Vendors”
Jump to “Edit Vendors”
Add Vendors
⚙ Steps
Select “+Add Vendor”.
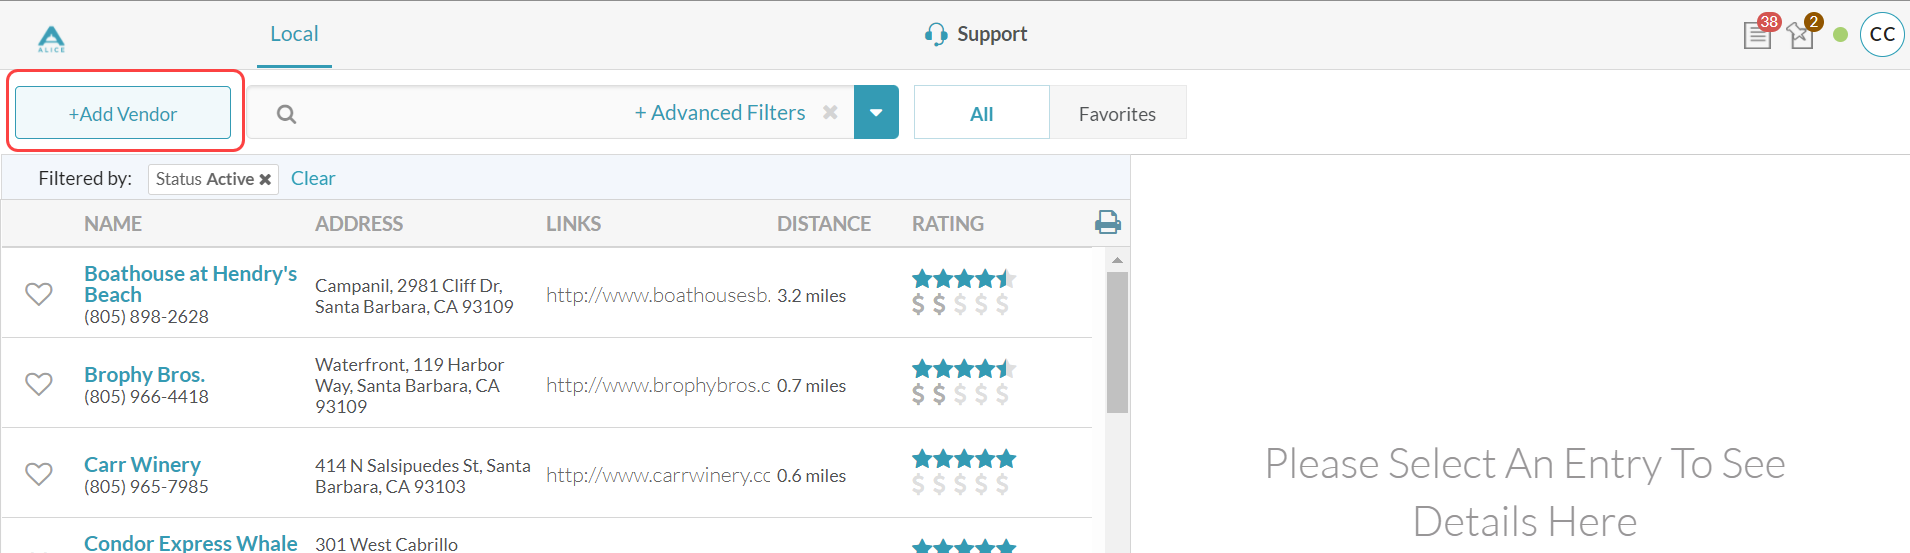
Begin typing the vendor name. ALICE will display Google Places results. If the vendor information does not appear, add the city or another keyword to aid the Google search.

Select the correct vendor listing. ALICE will autofill the vendor information when available through Google Places. If the vendor data cannot be located in Google Places, enter the information manually. Learn more about Vendor Fields.
Select “+Add” to save the vendor.
Best Practices: Add Tags to vendor records to make searching for local vendors simple. Determine a property practice for adding tags so naming conventions are consistent.
Edit Vendors
⚙ Steps
Select a vendor from the vendor list. The vendor details populate in the right panel.
Select the blue pencil icon from the vendor details panel to access the edit screen.
Edit vendor details as needed. Select “Update” to save the changes.